
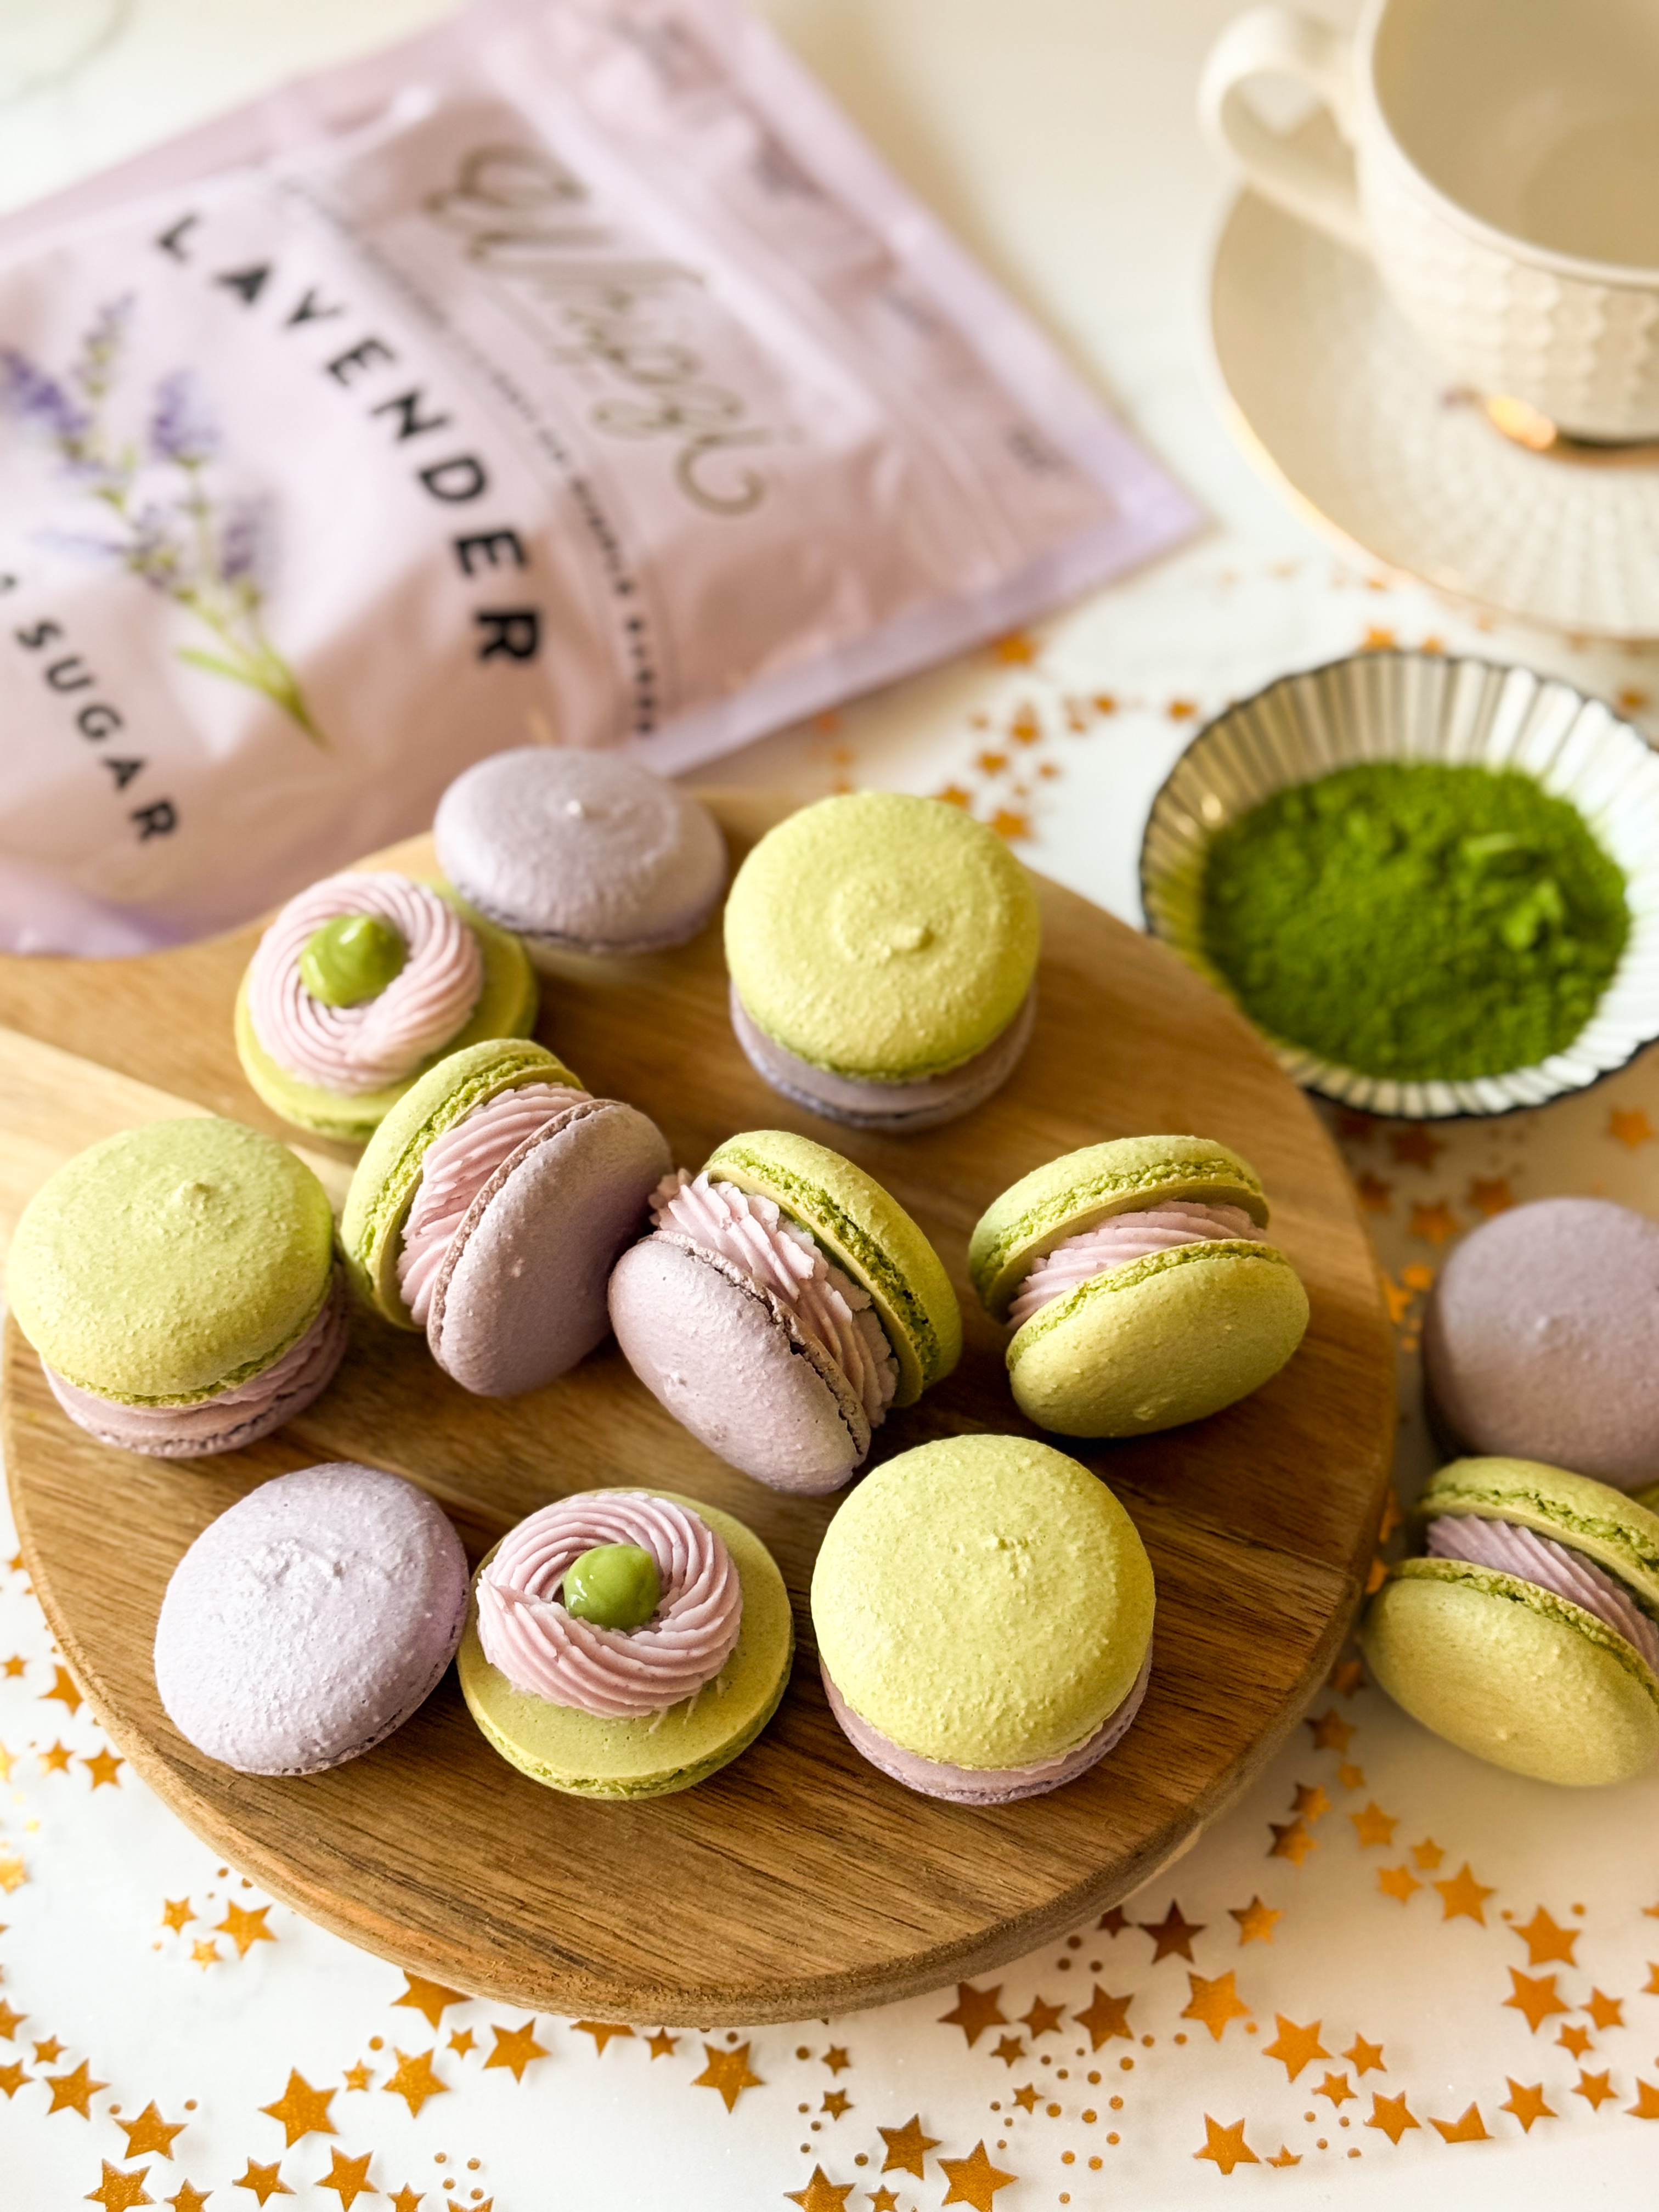
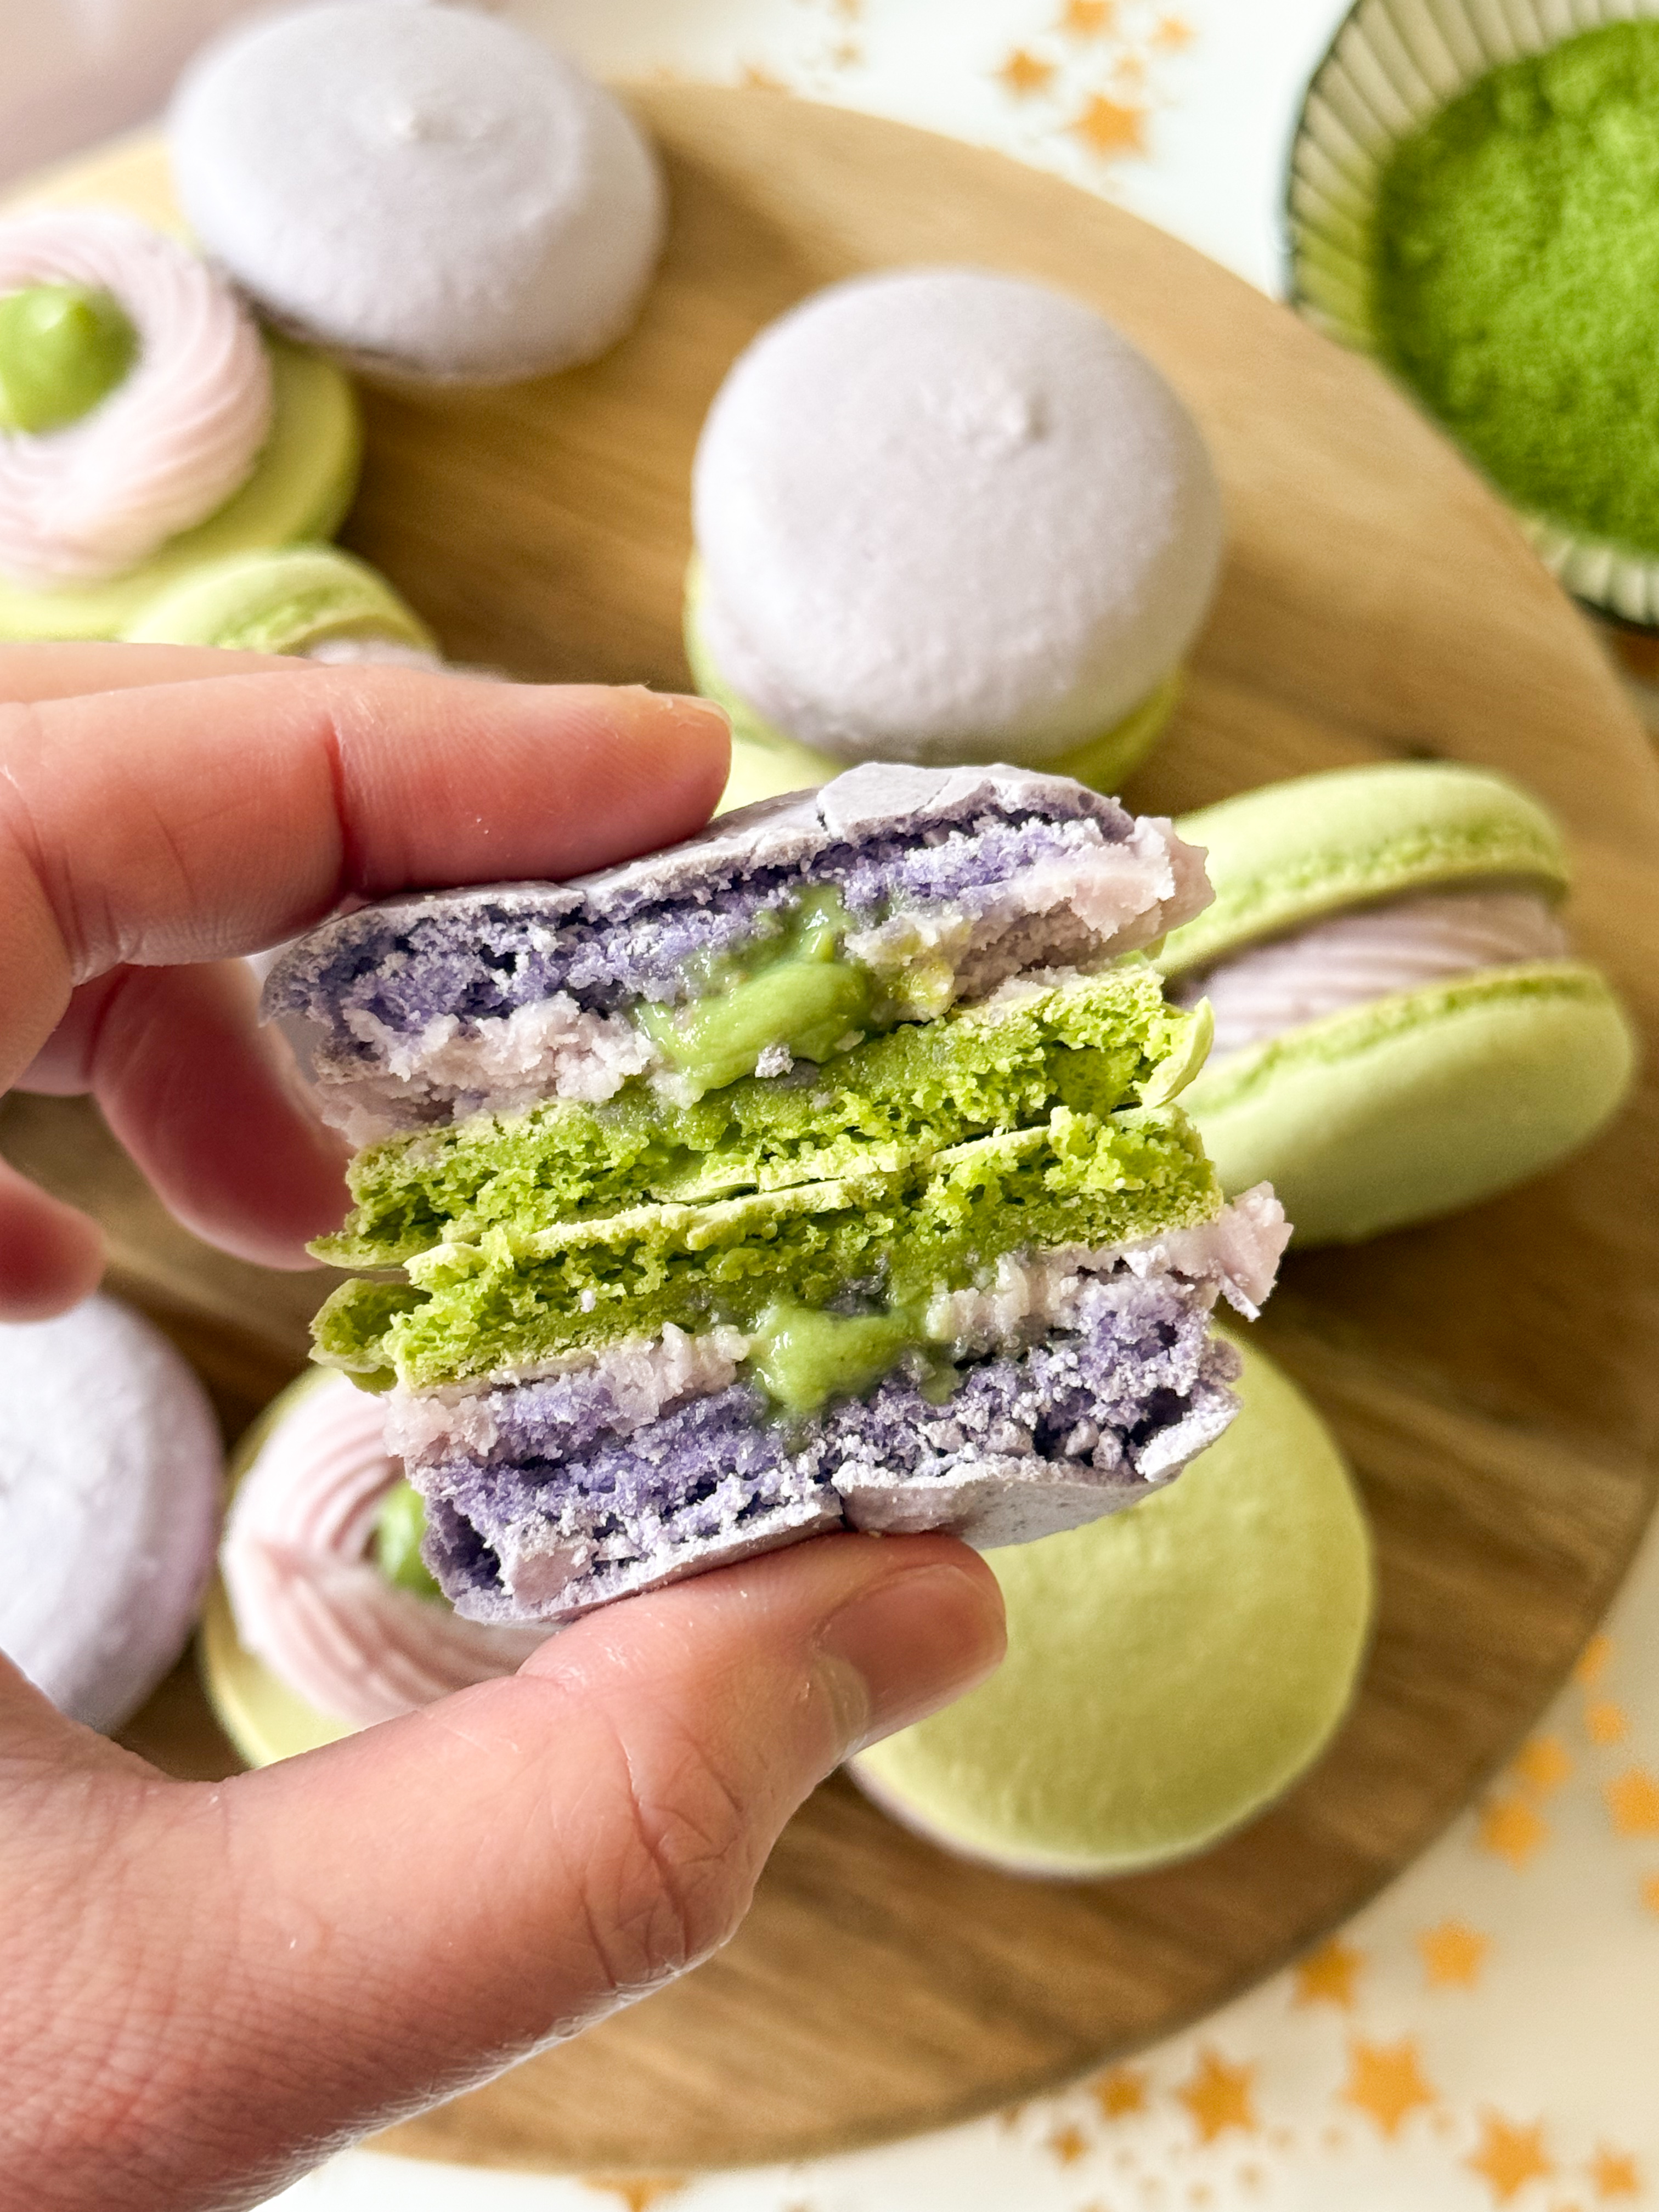
Have you tried matcha lavender latte? I was surprised when I tried it from Starbucks last spring. These macarons are inspired by the drink. Matcha macaron shells and lavender macaron shells are paired with lavender buttercream and matcha custard in the middle. They are perfect for spring!
Matcha & Lavender Macaron Shells
Adopted from Pies & Tacos Blog – Swiss method.
Note: You do not have to get exactly 95g of egg whites. You can calculate the ratio as 1:05. For example: if you only get 100g of egg whites out of 3 eggs, multiple it by 1.05 to get to 105g on dry ingredients (almond flour and powdered sugar). Remember to use a scale to weight all the ingredients.
Yield about 40-44 shells
We are going to split one batch into two different flavors. It could be tricky to split equally. Have your scale ready during the process.
- 95g egg whites (from 3 fresh eggs)
- 95g white granulated sugar
- 3g egg white powder (optional) from Judee’s from Scratch
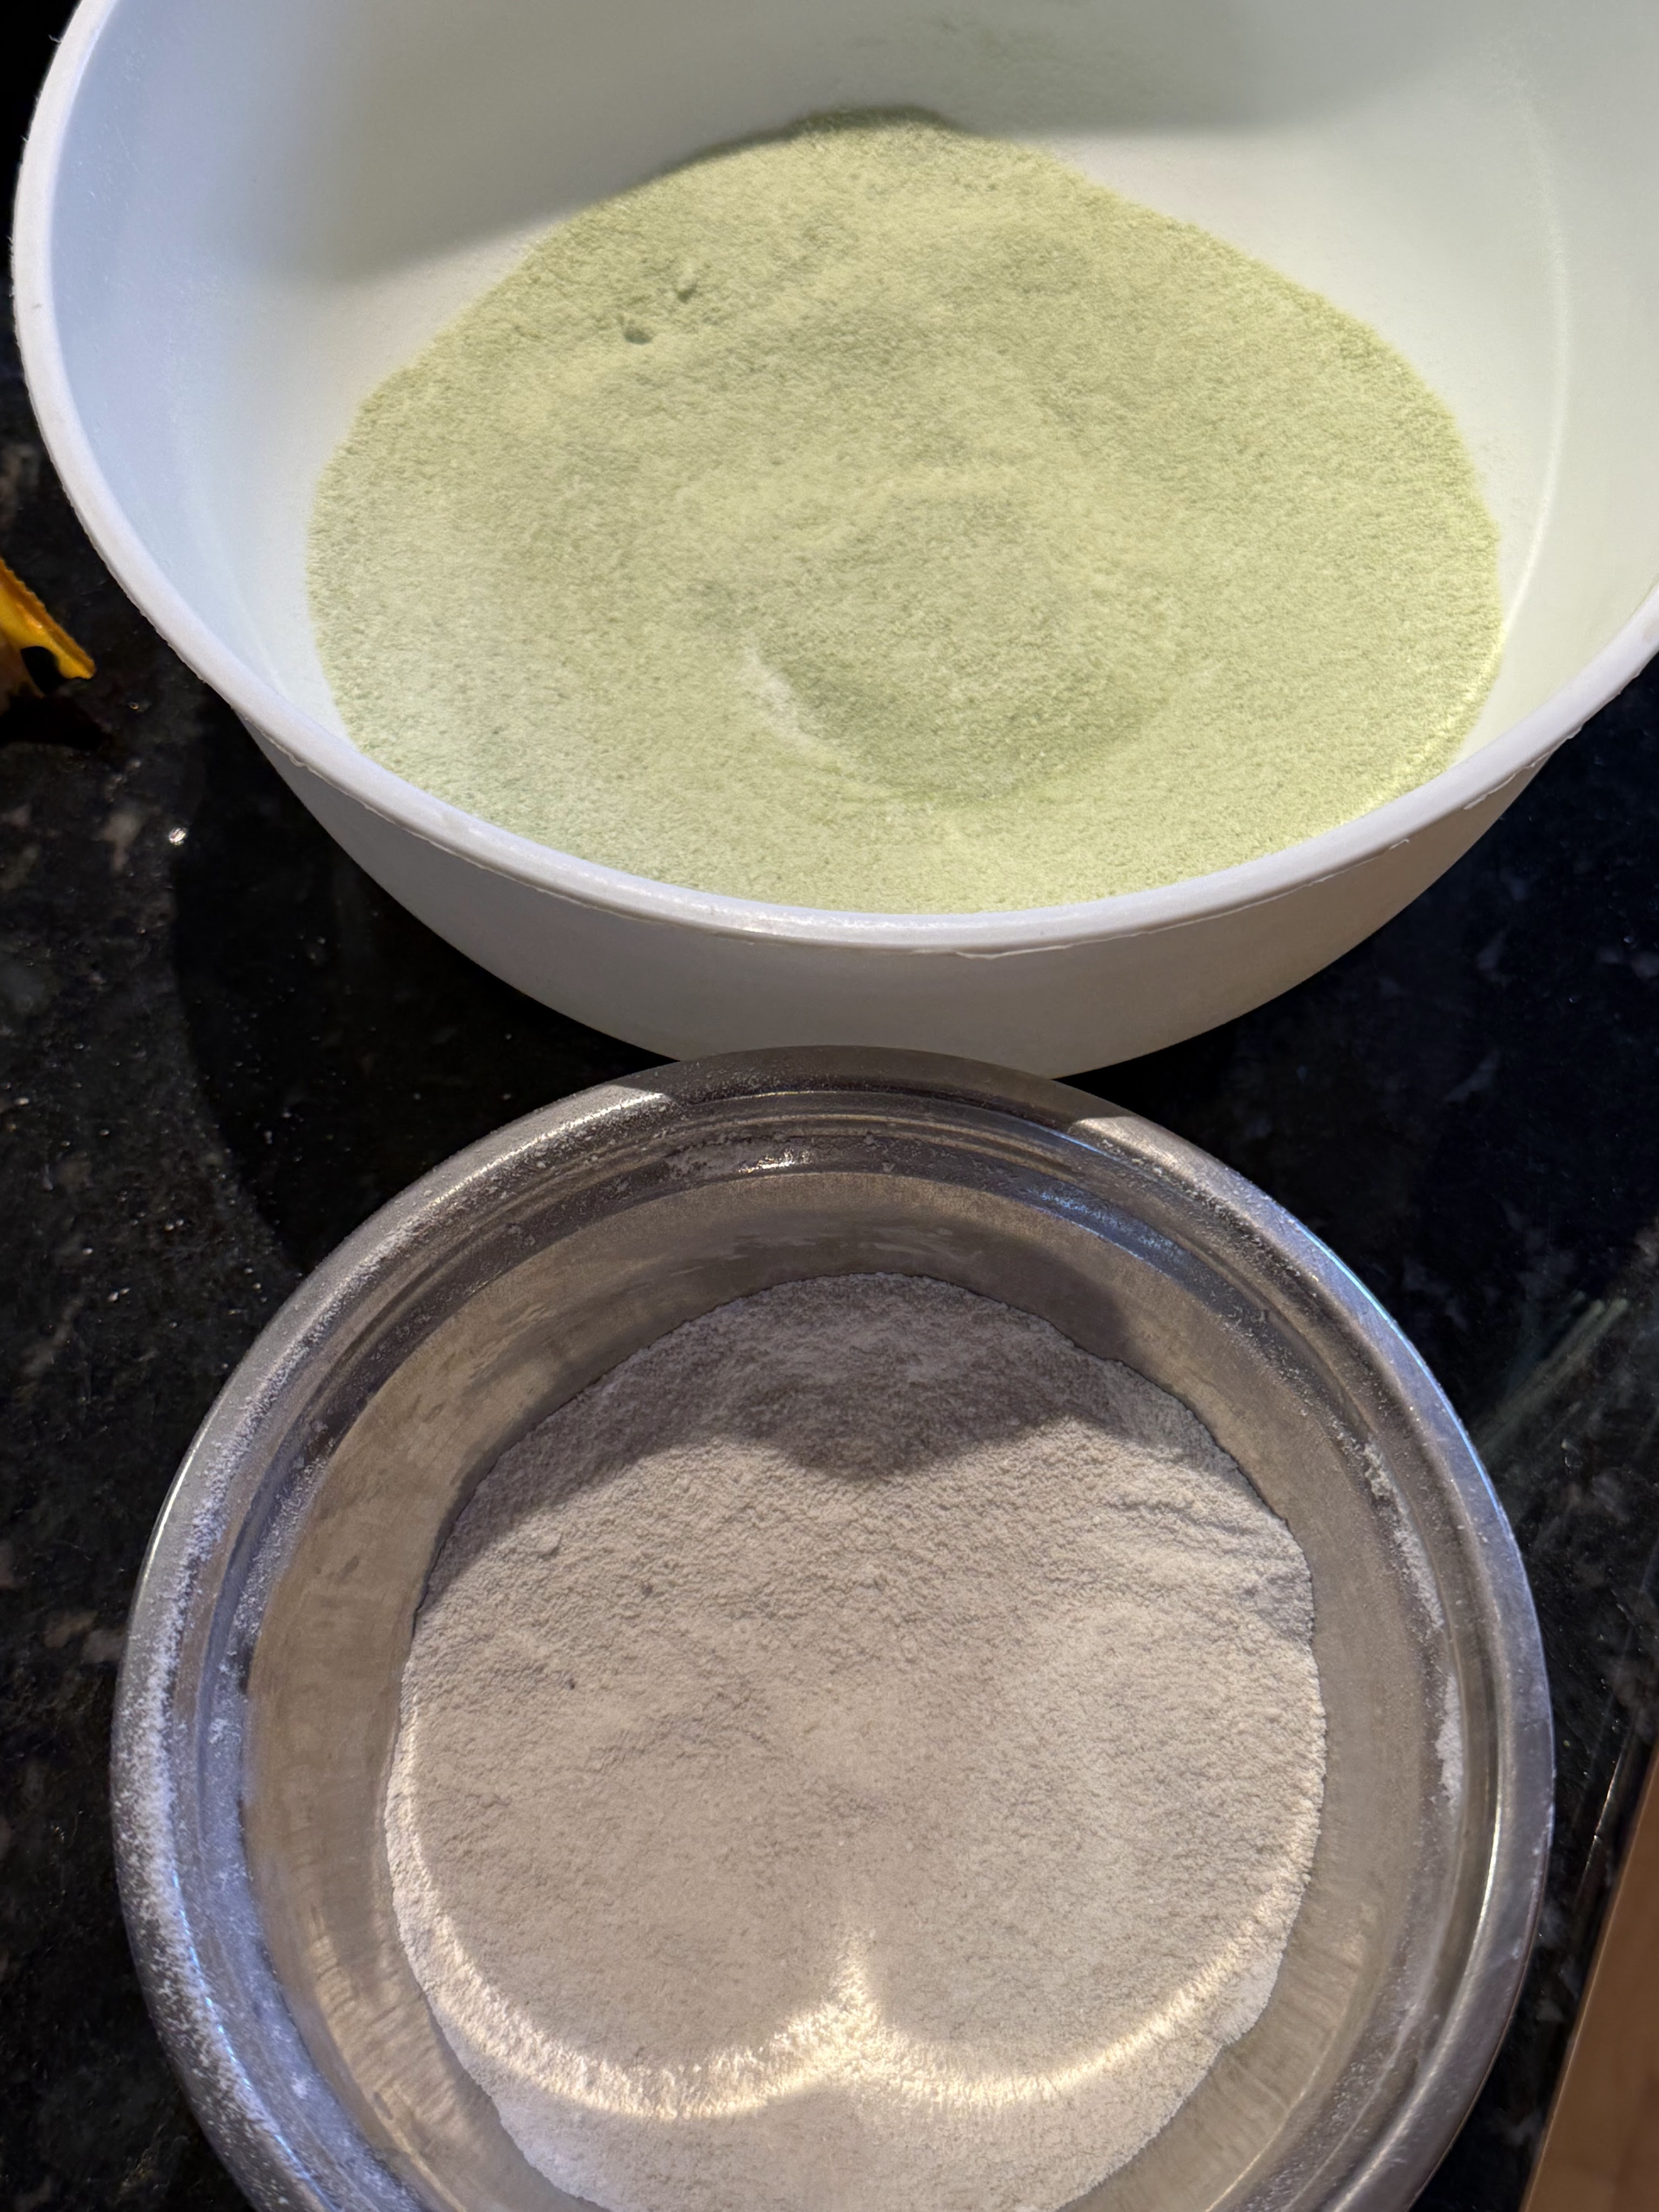
Split the dry ingredients into two bowls
- Matcha bowl
- 50g almond flour
- 50g powdered sugar
- 2g organic matcha powder from Tezumi Tea (Use 10% off discount code “SUGARTREATSBYCK2024” on your order)
2. Lavender bowl
- 50g almond flour
- 50g lavender flavored powdered sugar from Whipzi (Use code “ck20″to get 20% off on your order)
- Purple food coloring (optional) – I used one drop here because when using natural flavor in the shell, the color will fade out and turn brown after bake.


Steps
- Before you start, wipe all the tools and bowls with white vinegar or lemon juice to make sure there is no oil on them and get all of the ingredients ready. Prepare a large piping bag, fitted with a large round tip. I use piping tip round 12. 1A can be used to. It depends on what your preference. Set aside.
- Line two baking sheets with silicone mat or parchment paper. If you are using a template, you can put them underneath the mat or parchment paper now.
- Measure out all of the ingredients using a scale.
- In bowl #1 & bowl #2, sift the dry ingredients together. Whisk them until combine. Set it aside.
- In another bowl, whisk the sugar and the egg white powder (if using). Using a double boiler method, place the bowl over a pot with water. Make sure the bottom of the bowl does not touch the water. Add the egg whites to the sugar and whisk the mixture until frothy. Use your finger to touch the mixture and you should not be feeling any sugar in it, which means the sugar is completely melted and ready for next step.
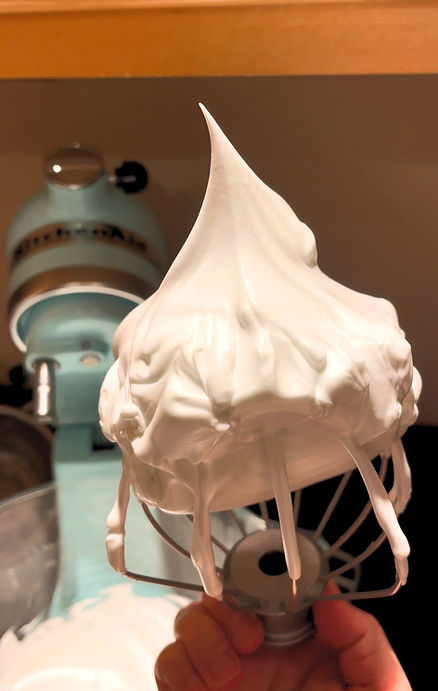
- Transfer the sugar mixture to the bowl of a stand mixer. With the whisk attachment, start whisking mixture on low for about 30 seconds, then gradually start increasing speed to medium-low (KitchenAid speed 4). Whisk on medium for one to two minutes, until the mixture is white and starting to become fluffy. Raise the speed medium-high (KitchenAid speed 6) and whisk for a few minutes (could be up to 10 to 12 minutes) until stiff peaks are formed. Once they get glossy and you start seeing streaks formed by the whisk, it might be time to stop.
- Stiff peaks is the meringue shooting straight up. Then it is ready.
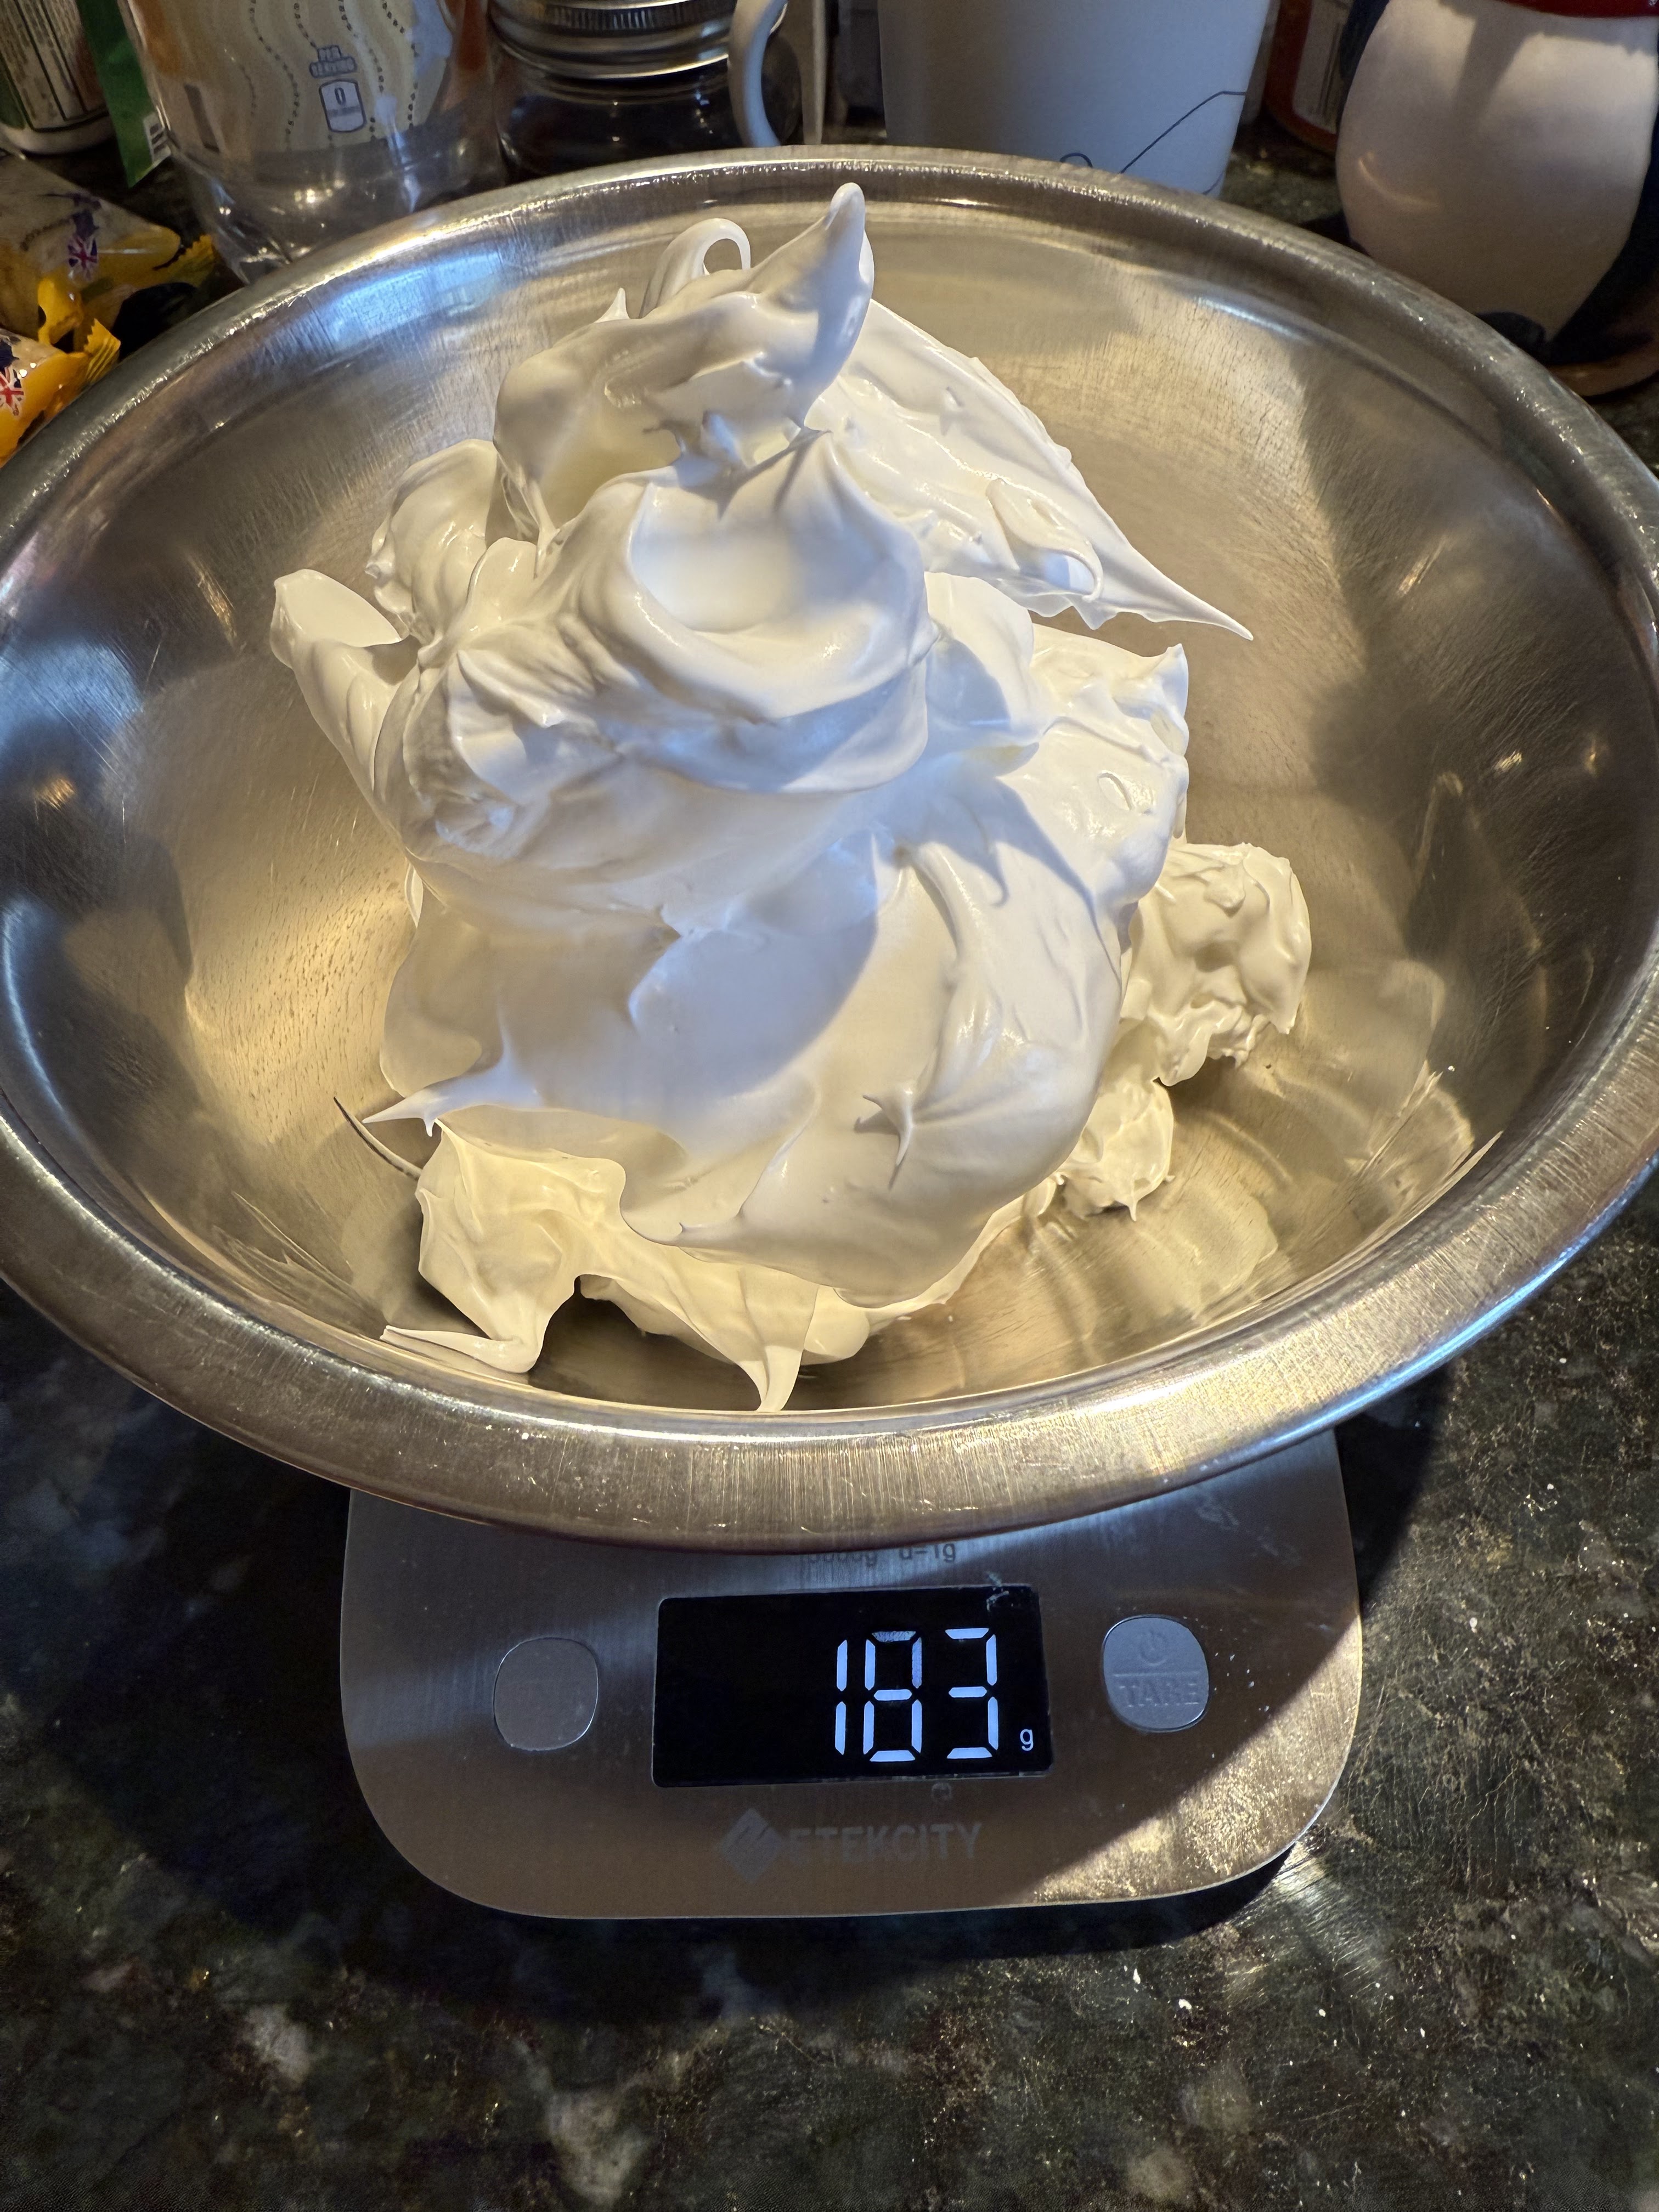
- Now here is where you split the meringue into two bowls of dry ingredients. I got 183g meringue. To split it up equally, I put about 91g meringue into each bowl.
- Cover up one of the meringue then work on one bowl.
- Pour the sifted powdered sugar, almond flour, and matcha powder into the stiff meringue (bowl #1)
- Use a spatula and start folding gently. What you are trying to do here is to deflate the air in the meringue and also incorporate it with the dry ingredients until it reaches a lava stage. I do not normally reach to figure 8 stage (if you have heard of this), because at this point, I feel like the batter is already overmixed and too runny. If the batter is flowing down from the spatula effortlessly and slowly, then it should be ready for the next step. If the batter is breaking up from the spatula, it means it is undermixed and you need to keep folding.
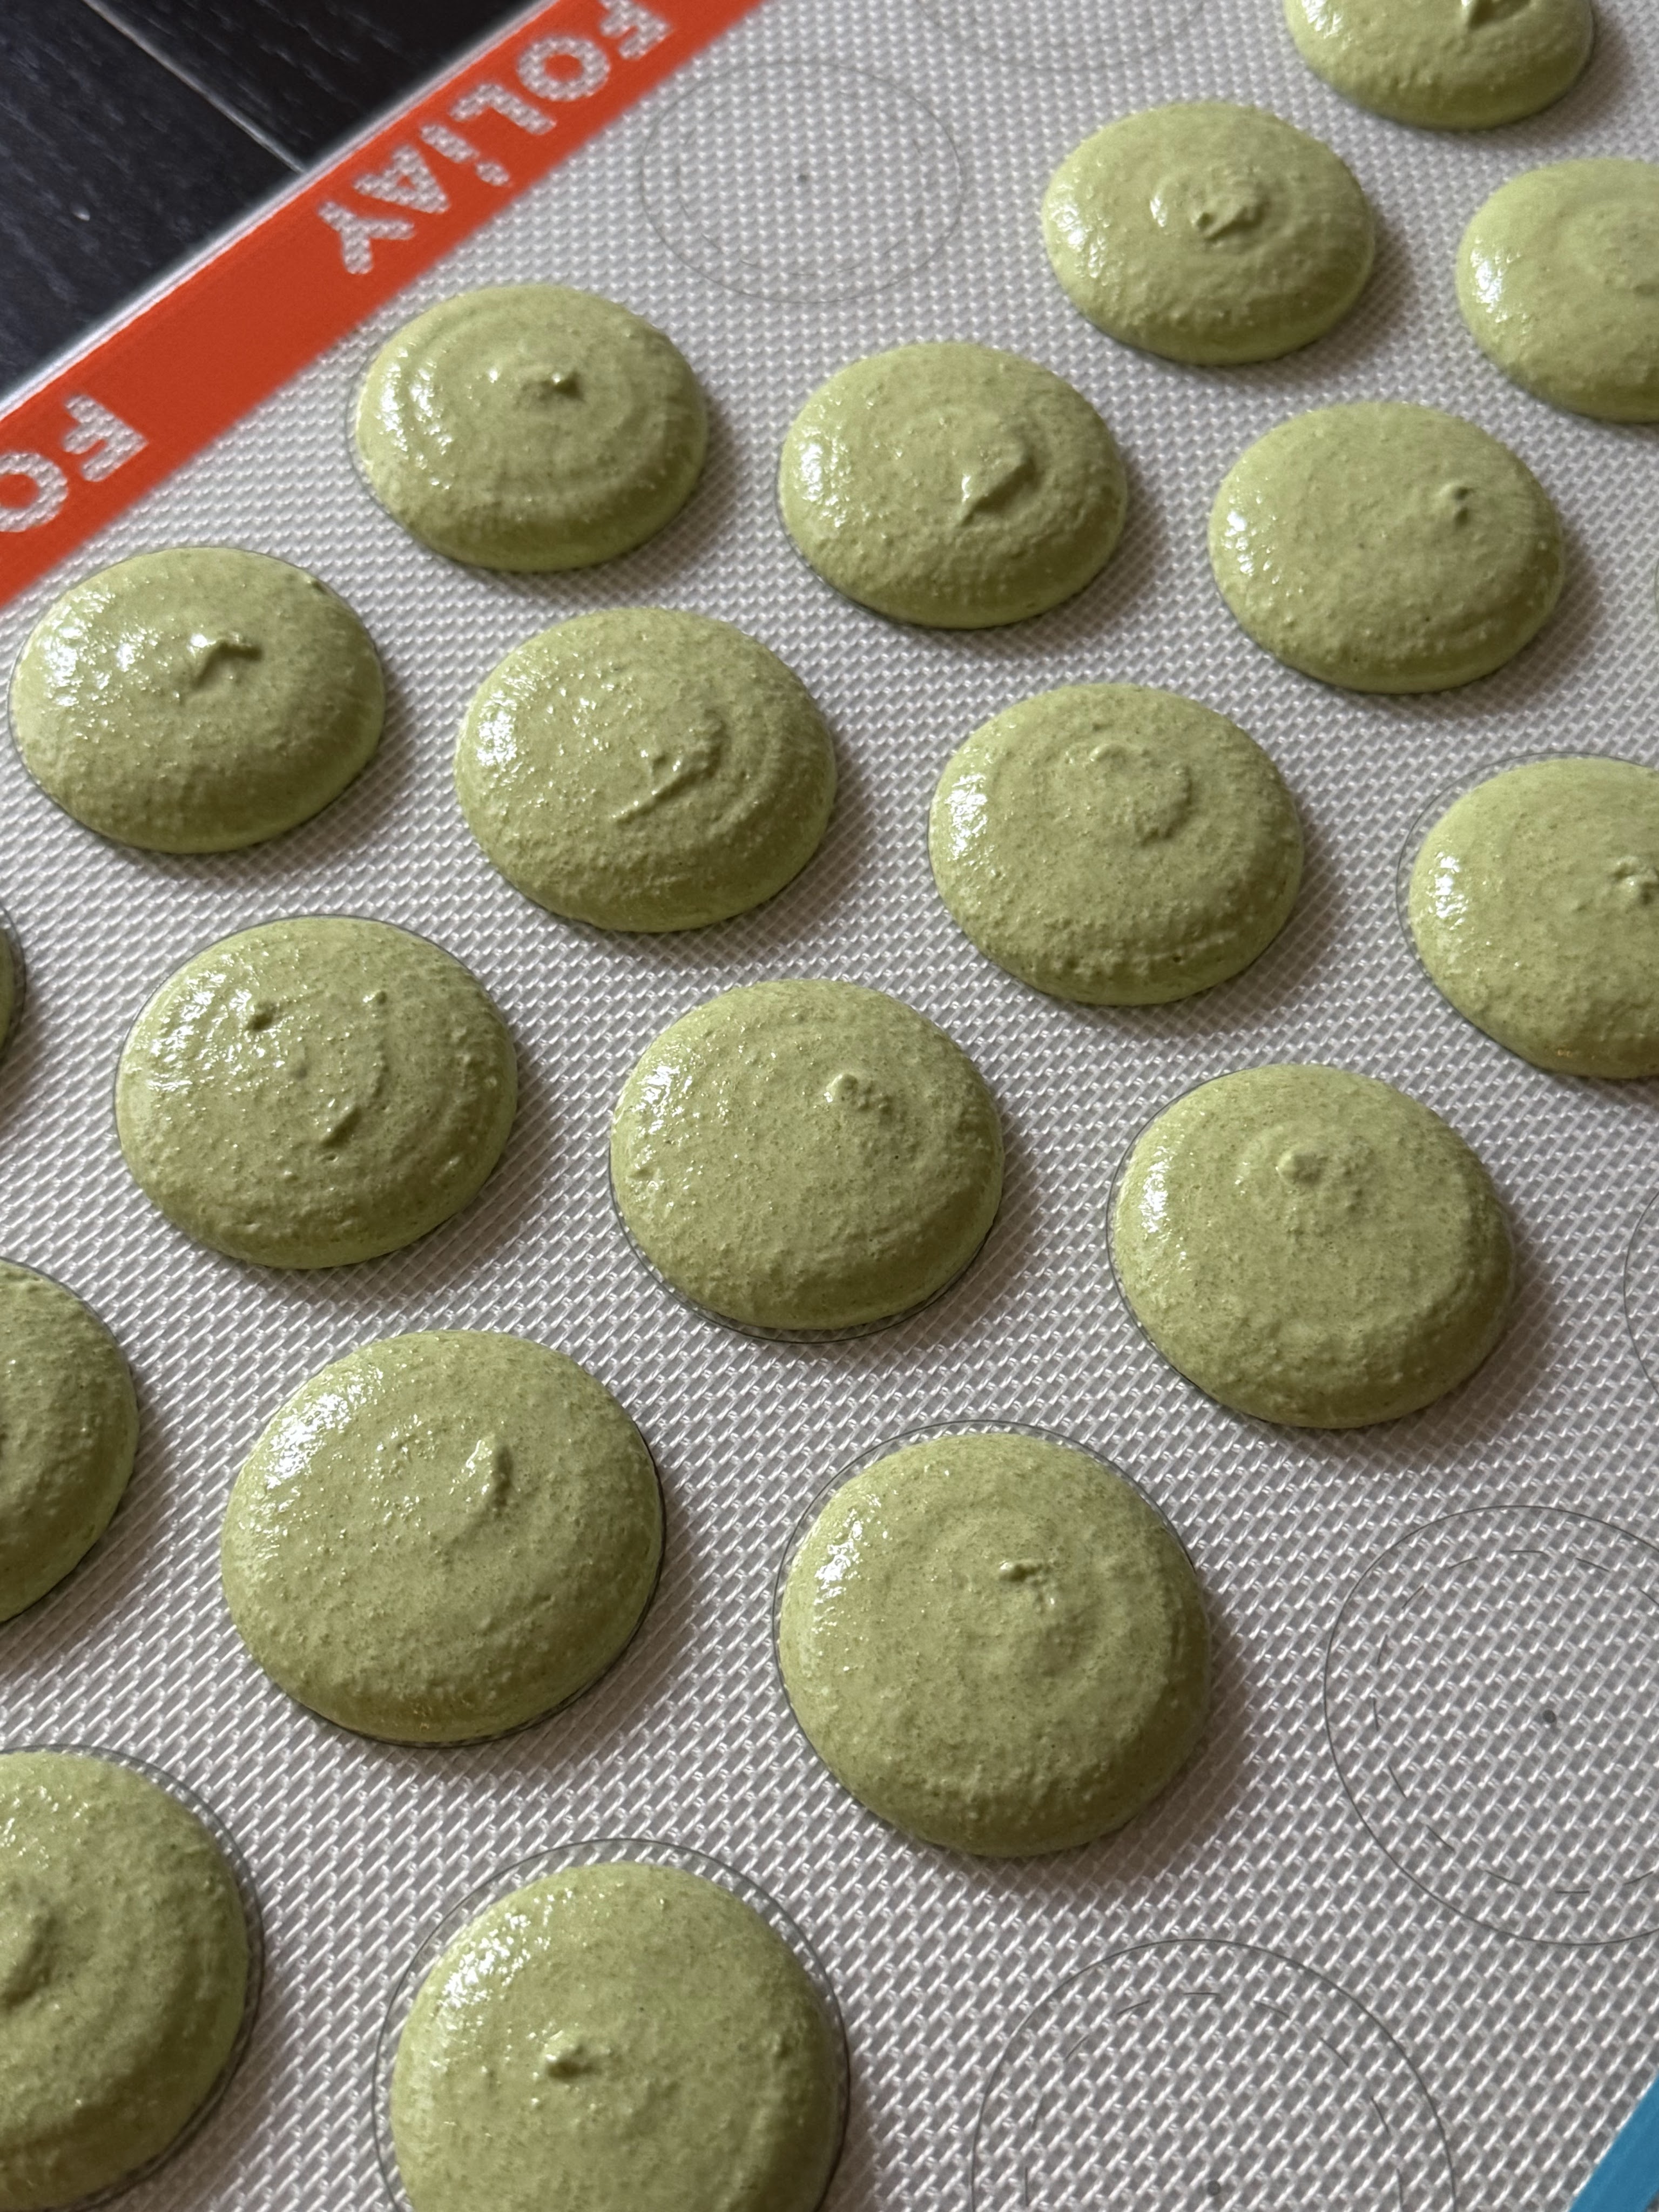
- When ready, transfer the batter to the piping bag.
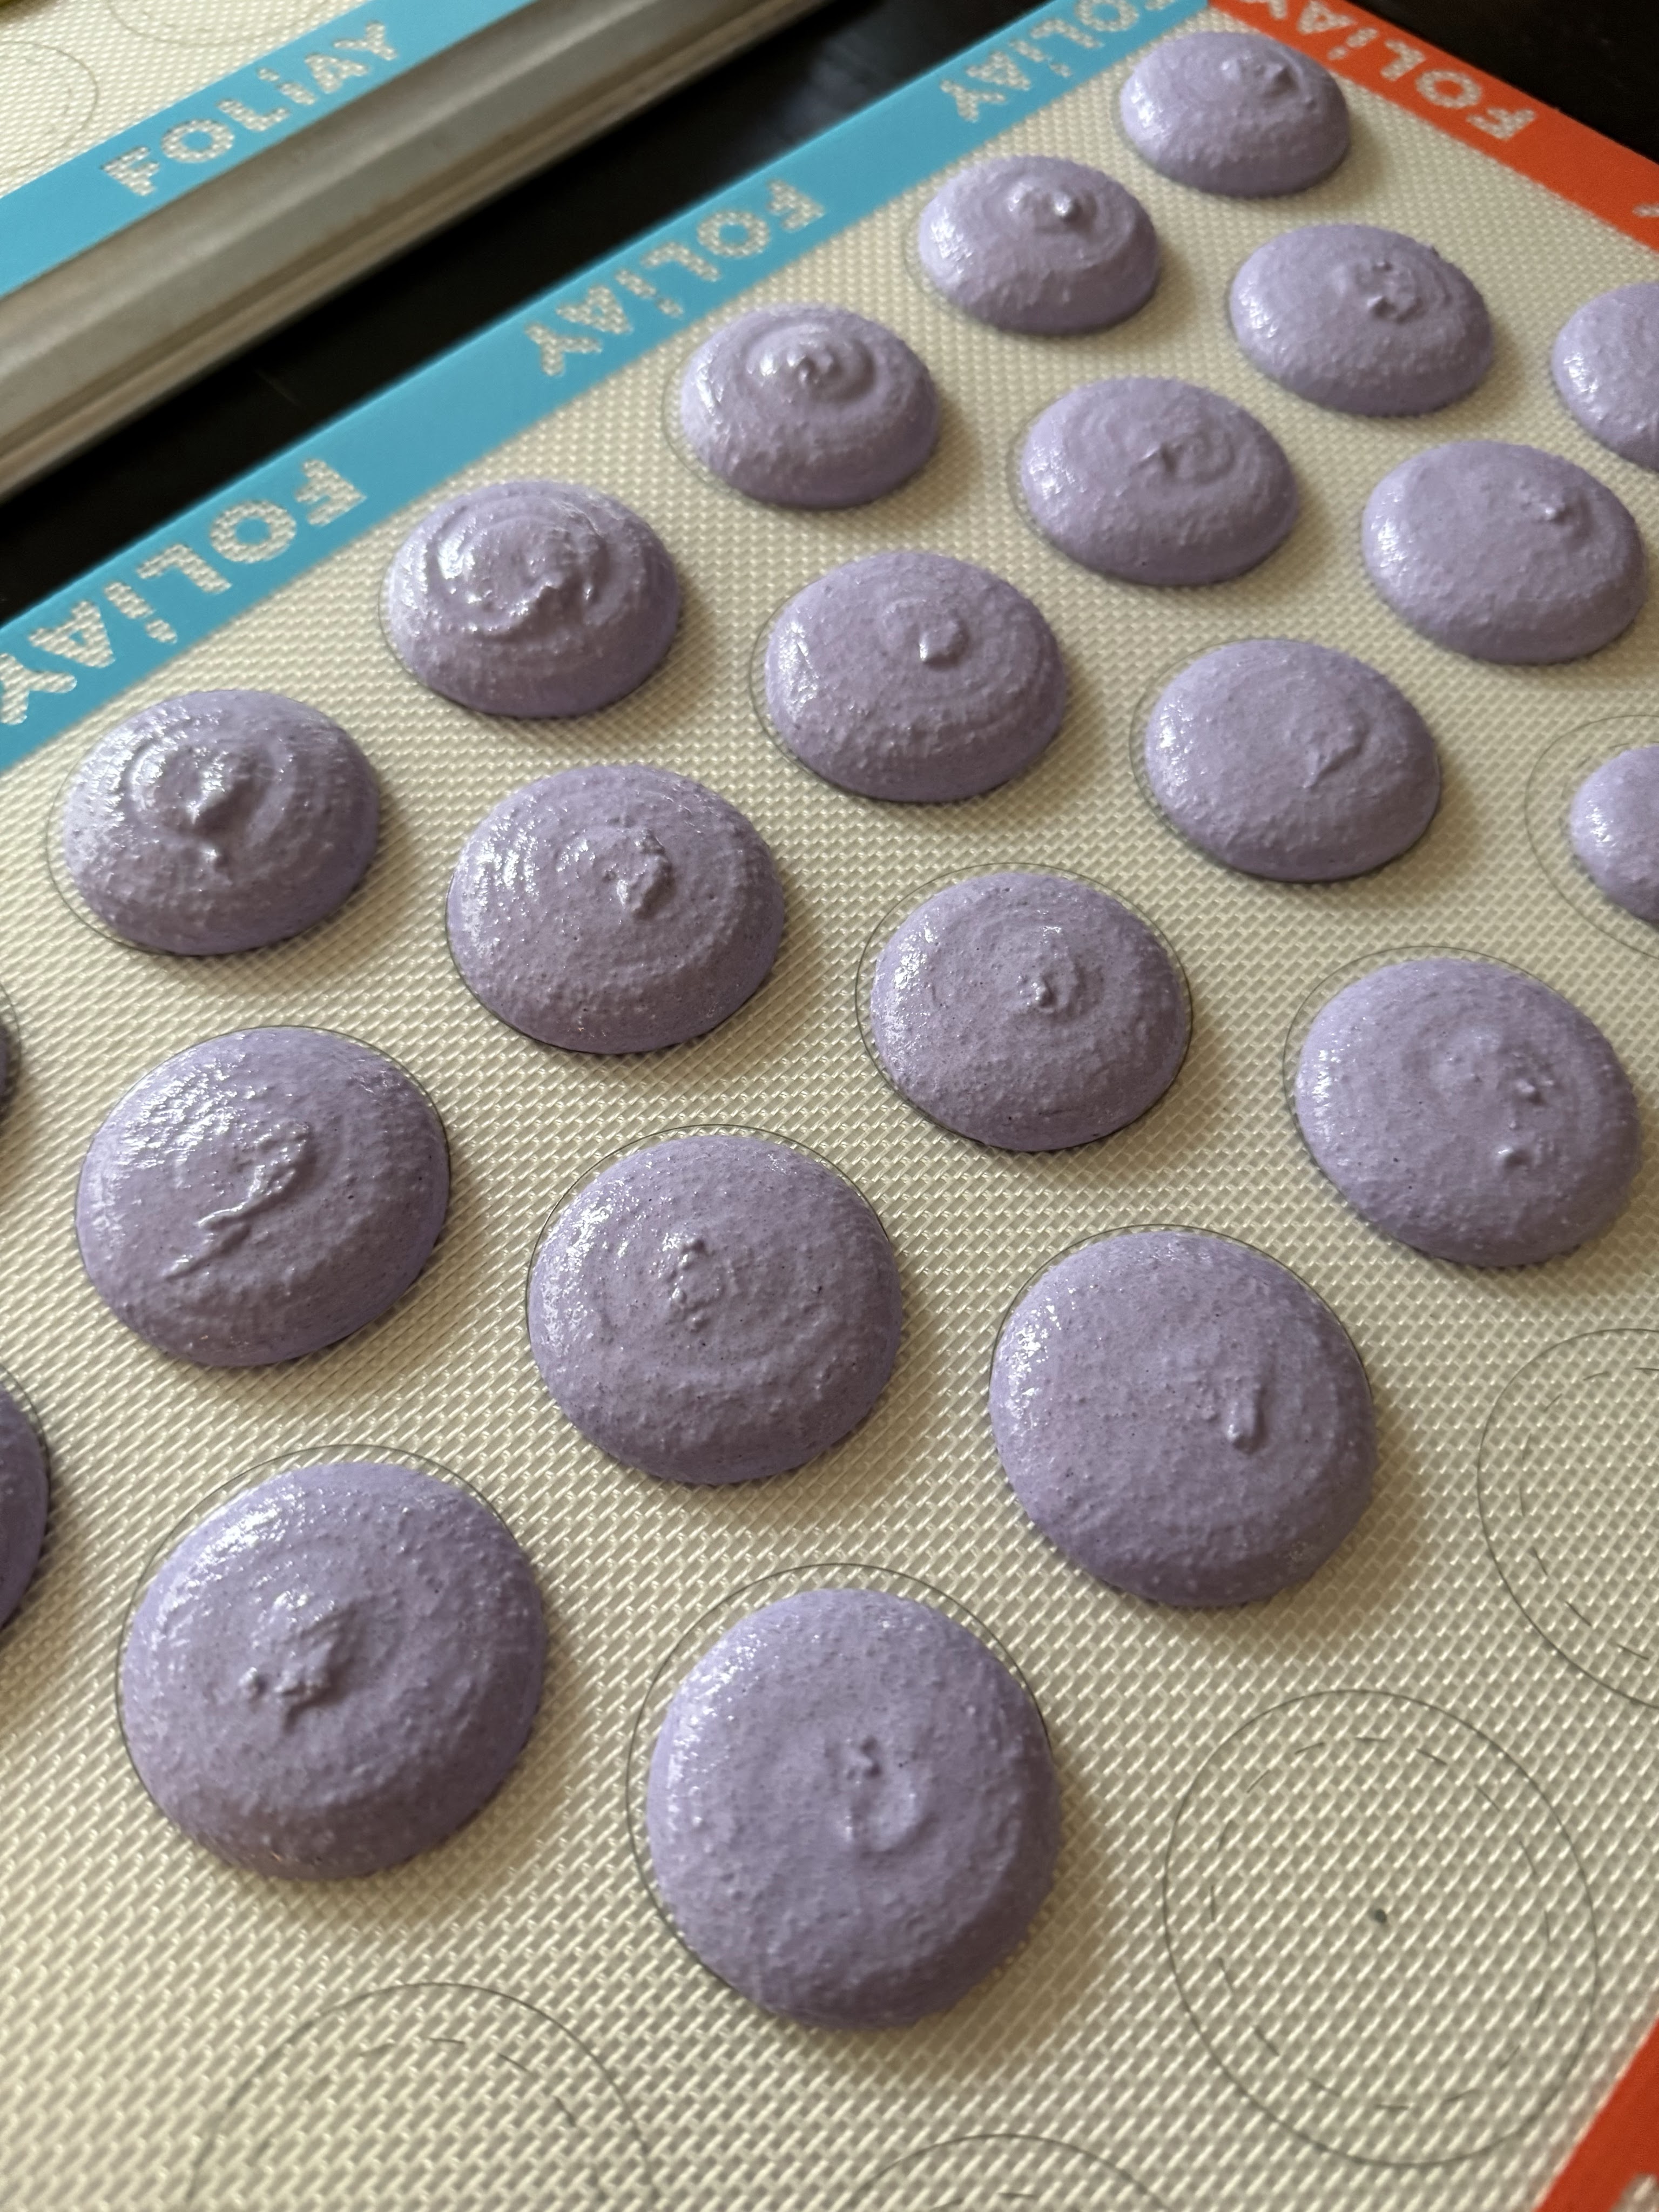
- Place the piping bag directly 90 degrees over the center of each macaron template.
- When piping is done, I would recommend tapping the bottom of the tray instead of banging the tray against the counter. Banging the tray against the counter is too loud and it really is scaring my kids. It still works but I no longer do the banging. This step is to get rid of air bubbles in the batter.
- Use a toothpick to pop any air bubbles in the surface of the shells.
- Pre-heat the oven to 310 degrees. You would need oven thermometer to know how hot your oven is. This is very important when baking macarons. What I have found out is the display of the oven is not accurate and it could be few degrees off, either hotter or under. Therefore, you would need to adjust the temperature and/or baking time. My oven is without a fan.
- If you are using a template, do not forget to remove it, which you can take it out in this step.
- After the first tray is resting, you can start on working on bowl #2. Same process.
- Add any sprinkles on top of the shells if preferred. After resting the batter, you are not able to add any sprinkles on top. The sprinkles will not stick.
- Rest the shells about 20-40 minutes, depending on how humid where you live. It could take up to an hour for the top of the shell to dry. When you gently touch the surface of a macaron and the batter does not stick to your finger, it is ready to bake.
- You could only bake one tray at a time and put the tray in the middle rack. I rotate the tray half way and I use airbake tray. The advantage of using airbake tray is if there is hot spot in your oven, the macaron shells are baked evenly and the airbake tray also can keep them from burning.
- Bake for 15-18 minutes if using regular baking sheets. Bake for 16-19 minutes on airbake tray.
- To make sure the macarons are done baking, when you try to move a macaron, it should not feel jiggly. If the macaron is still jiggly, bake for additional 2 minutes and test again. When done, remove from the oven and bake the second tray.
- Move them to cooling rack. Let the macarons cool down completely before peeling off from the mat or parchment paper.
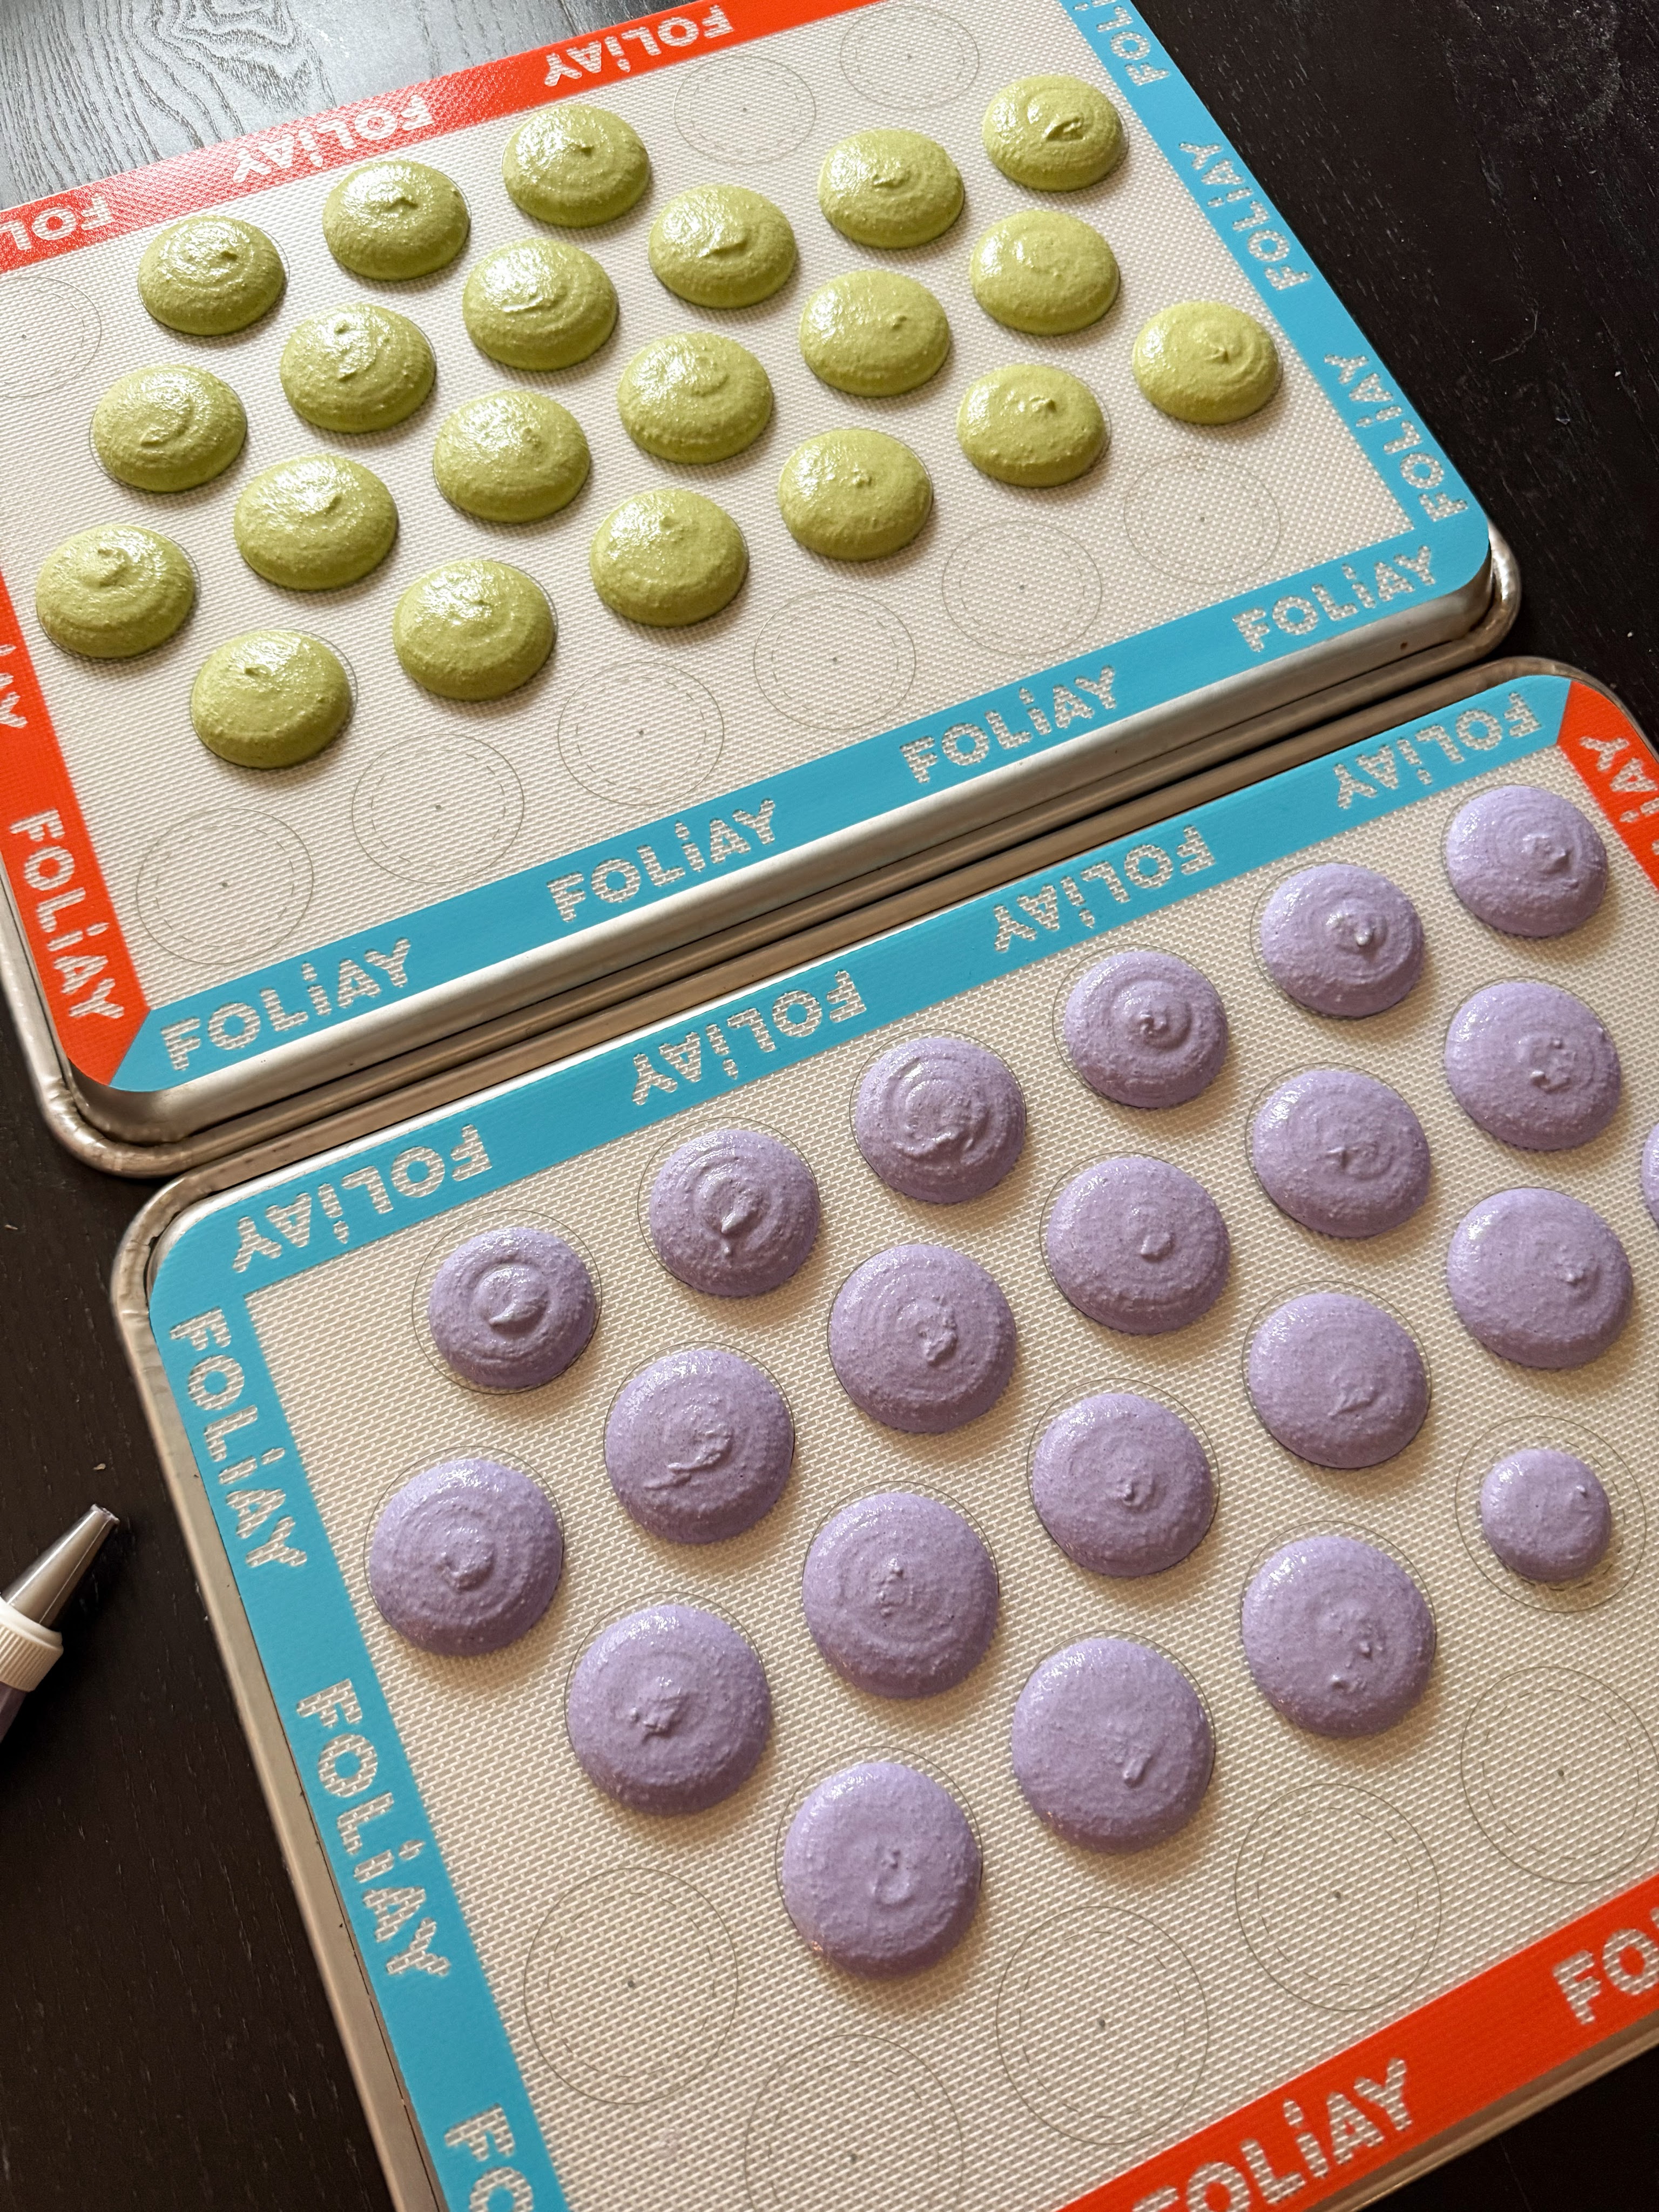
- That is how you can have two flavors in one batch!
Lavender Buttercream
- 2 sticks unsalted butter at room temperature
- 1.5 cups lavender flavored powdered sugar from Whipzi
- 1-2 teaspoons of milk or heavy cream
Steps
- Beat the butter for few minutes until light and fluffy
- Add in powdered sugar half cup at the time until combined
- Whip the buttercream in high speed for few minutes until fluffy
- Add 1 to 2 teaspoons of heavy cream or milk if too stiff
- Whip in low speed for few more minutes to reduce bubble
Matcha Custard
- 3/4 cups milk
- 25 grams granulated sugar
- 1 tbsp cornstarch (7.5 grams)
- 1 egg yolk
- 1 tsp matcha powder from Tezumi Tea (Use 10% off discount code “SUGARTREATSBYCK2024” on your order)
Steps
- Whisk the milk and matcha powder together.
- Bring mixture almost to a boil. Set aside for a moment.
- In another bowl, whisk the egg yolk, plus the sugar, and the cornstarch in a bowl.
- Whisk until mixture is very lightened in color, and a bit runny.
- Add a couple of tablespoons of the hot milk to egg yolks, while whisking non-stop.
- Add another couple of tablespoons. Keep doing this while you whisk the mixture. You are tempering the eggs, and preventing them from cooking, by slowly raising the temperature.
- At the end you can just pour the rest of the milk in.
- Pour the milk/yolk mixture back in the pot where you heated the milk, through a fine mesh sieve to catch any bits of eggs that may have cooked.
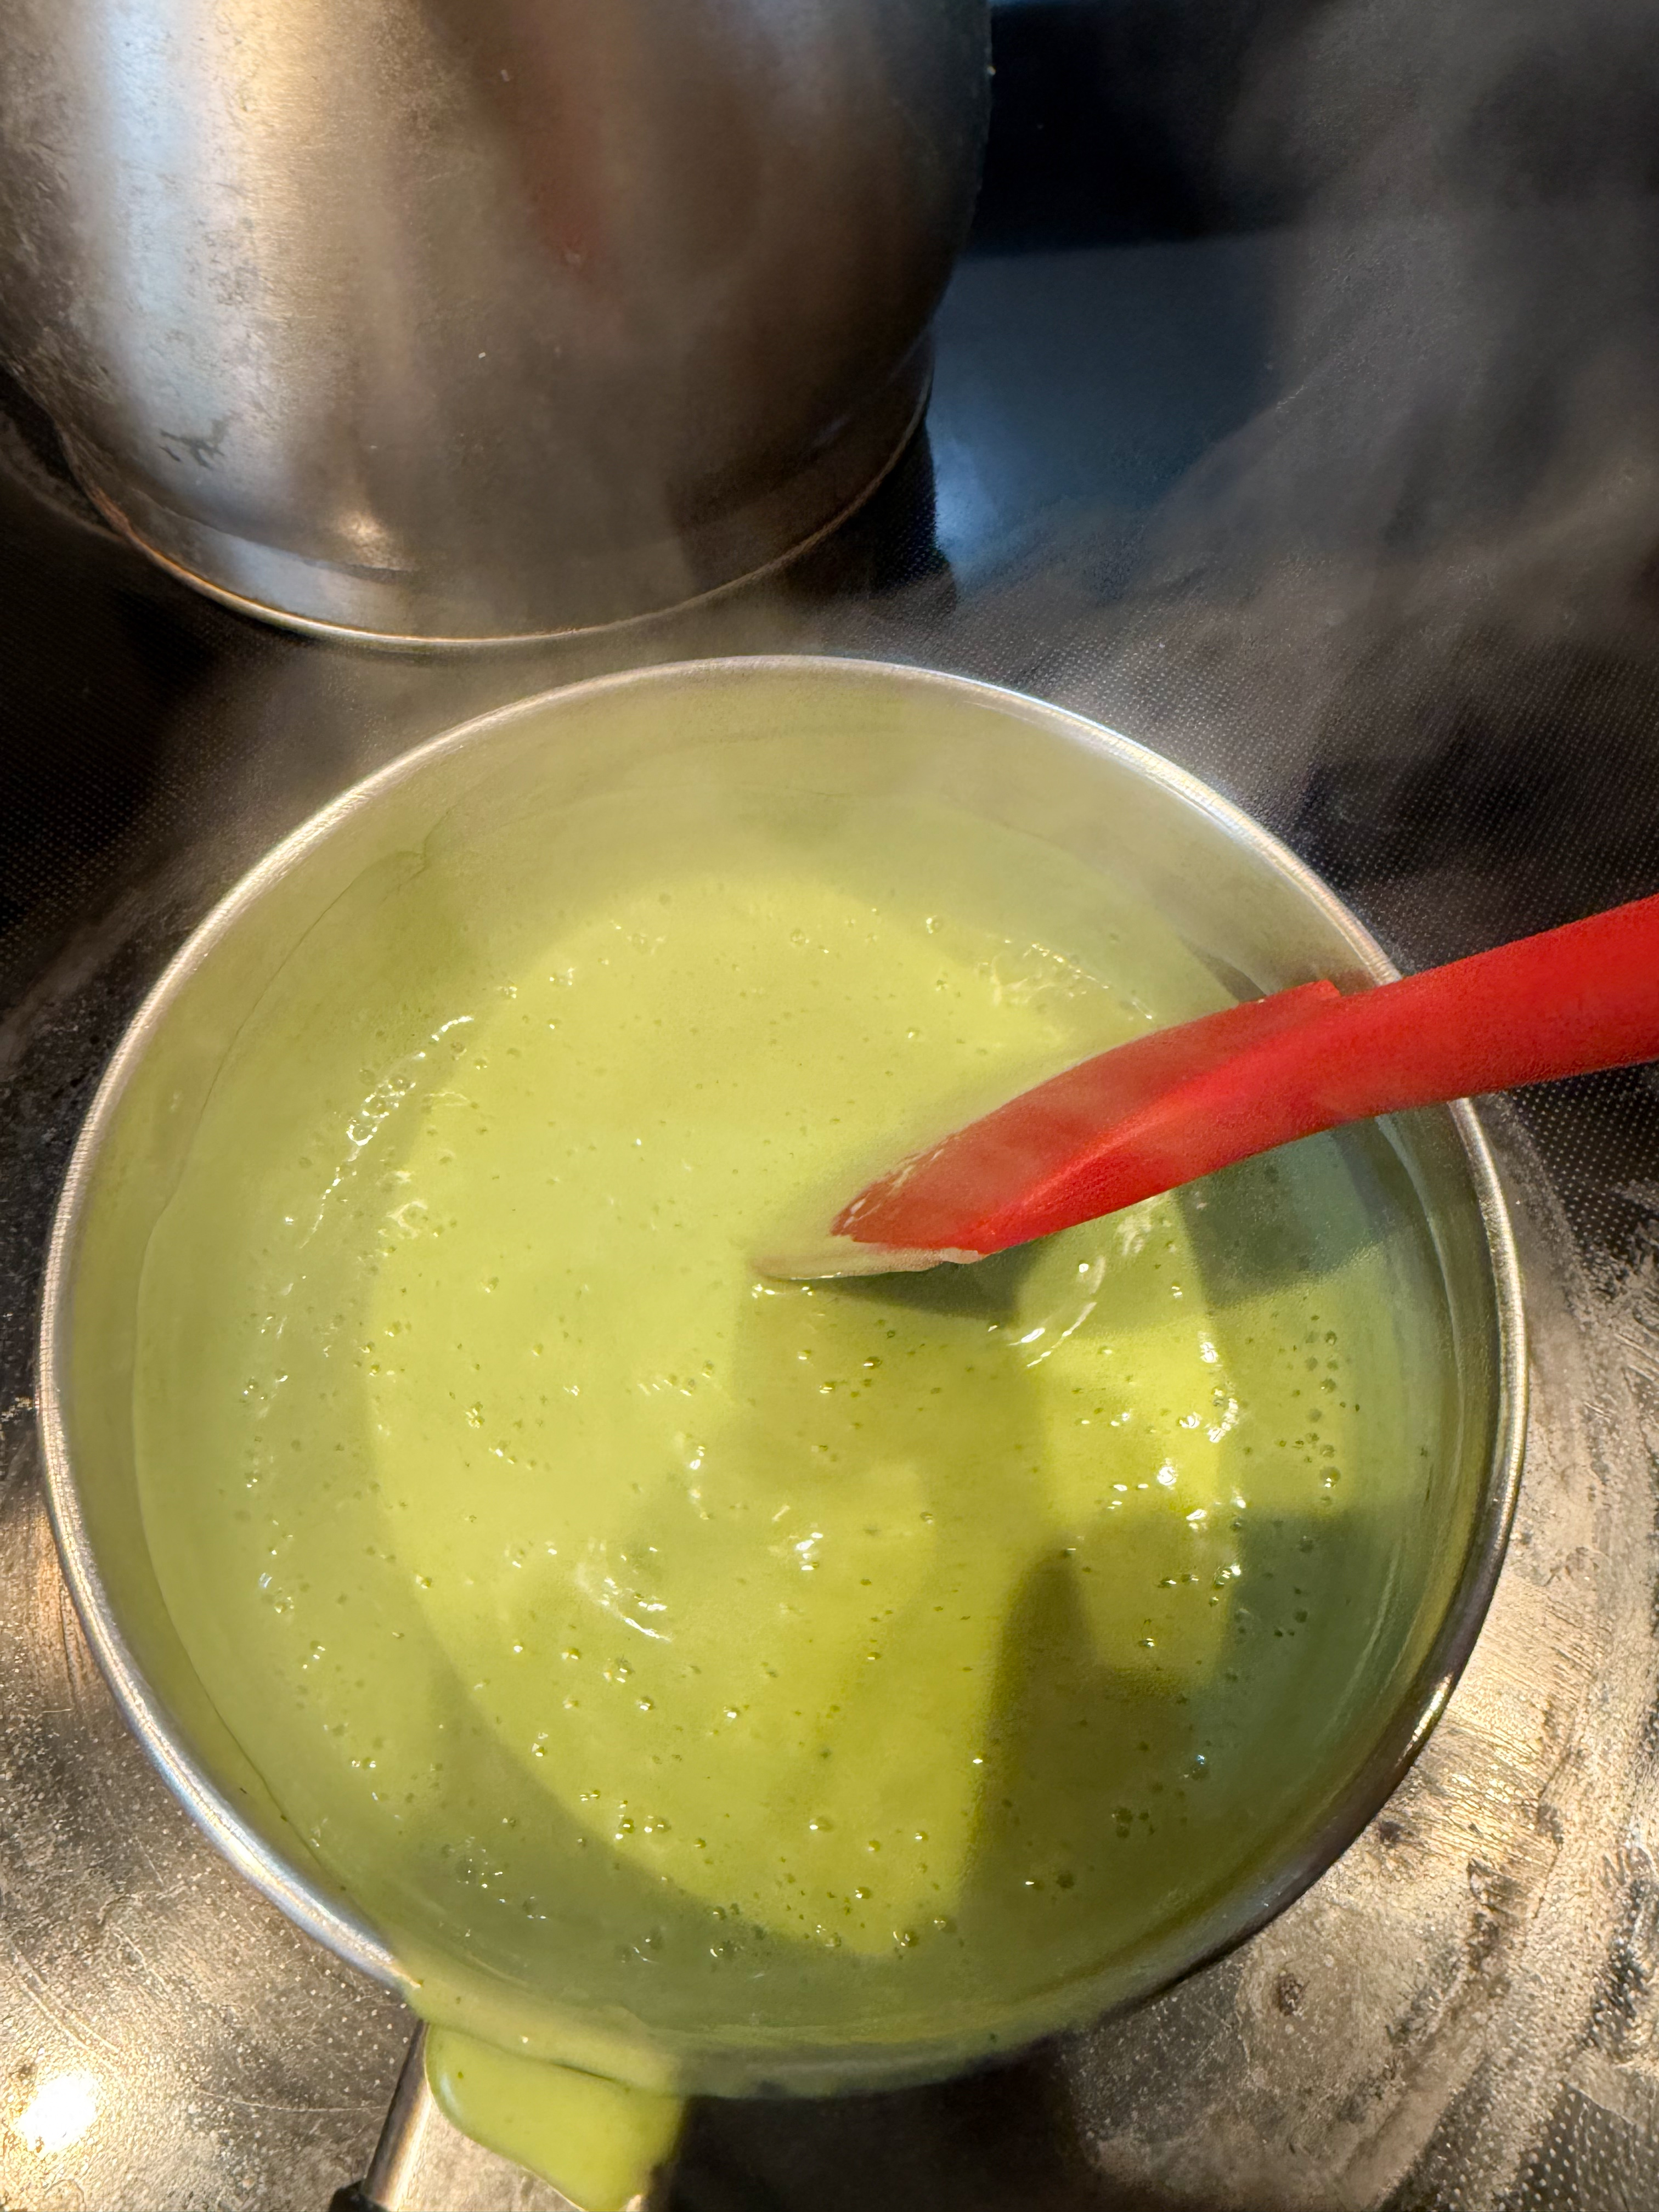
- Then, use a spatula or wooden spoon to stir the custard over medium-low heat. Don’t stop stirring, don’t look away, you don’t want it to overcook, or let the custard stick to the bottom of the pan.
- Keep cooking and stirring until it starts to get kind of lumpy, and then it will start to get really thick and smooth. When the whole mixture is creamy, smooth, and thick, you can turn the heat off.
- Transfer the custard to a heat-proof bowl.
- Cover the custard with plastic wrap directly on the surface of the cream. Place it in the fridge until completely cooled down.
Assemble
- Place the buttercream in a piping bag. Pipe a ring of buttercream on top of the bottom shell. Then fill the middle matcha custard. Top with another macaron shell.
- Mature the macarons in the fridge for 24-48 hours before serving. When ready to serve, take the macarons out from the fridge and let them come to room temperature for 15 to 20 minutes. Enjoy!
Comment below if you have tried this recipe. Follow me on Instagram.
